- This topic has 1 reply, 1 voice, and was last updated 6 years, 7 months ago by
 Ragùneraxe.
-
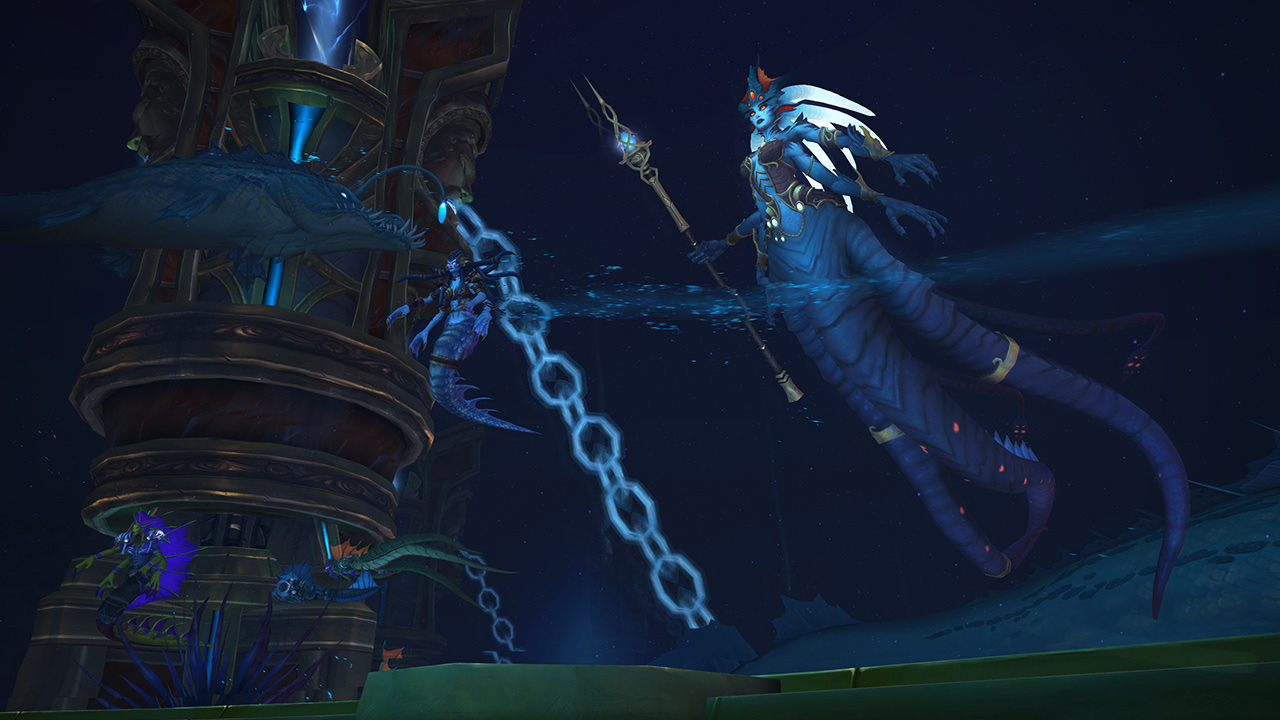
QUEEN AZSHARA
A compendium of raid mechanics with a plethora of strategies to employ in downing her, Queen Azshara proves to be one of the most, if not THE MOST mechanically heavy fight in World of Warcraft to date.
Consisting of 4 Phases and 2 Intermissions, you will need to obey the Queen’s Decrees, overcome her Arcane and Void Magics, avoid the Wrath of her Master all whilst protecting the barrier around you that is keeping the crushing waters at bay through the use of your Heart of Azeroth to stabilize the Titan Wards imprisoning the Old God N’Zoth – or do you?
- Divide and Conquer (MYTHIC ONLY): Azshara splits the room in half with an arcane wall. Passing through this wall will instantly kill you.
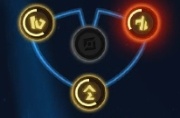
- Ancient Ward (YELLOW): There are 3 possible Wards active throughout the encounter floor. You will need to maintain the energy of these wards to stop the sphere around us from cracking and causing Pressure Surge. Standing on the Wards will siphon energy from yourself into it, granting you a stacking debuff of Drained Soul.
- Pressure Surge: Whenever a Ward loses all of its power, it will begin failing and the barrier will begin cracking. Pulsing raid-wide damage will ramp up until the Ward regains power. If all 3 Wards lose all of their energy, a Catastrophic Failure will occur.
- Catastrophic Failure: Instantly kills all players.
- Drained Soul: Stacking debuff that lasts approx. 2 minutes whenever you empower an Ancient Ward. You must stand on the Ward with the least energy and empower it till you reach 5-6 stacks of this debuff.
- Pressure Surge: Whenever a Ward loses all of its power, it will begin failing and the barrier will begin cracking. Pulsing raid-wide damage will ramp up until the Ward regains power. If all 3 Wards lose all of their energy, a Catastrophic Failure will occur.
PHASE ONE
Azshara is not present in this phase. Instead, she sends the Cursed Lovers Aethanel and Cyranus to fight us while she remains in the waters, periodically draining random Ancient Wards of their energy.
- Cursed Heart: The two minibosses will periodically spawn patches of void on the ground beneath the active tank.
- Torment: Causes either Aethanel and/or Cyranus to become Enraged, increasing their haste and damage.
- Longing: If the Lovers are NOT within line of sight of each other, they gain Torment.
- Painful Memories: If the Lovers are within line of sight of eachother, they gain Torment.
- Death: If they do not die together, the remaining boss will gain Torment until it is defeated.
- Aethanel
- Chain Lightning: Interrupt this.
- Lightning Orbs: Avoid blue swirlies.
- Cold Blast: Tank swap at 3 stacks.
- Cyranus
- Charged Spear: Avoid being between the chosen target and Cyranus. If you are targeted, make sure the spear goes out through the outer barrier.
- Serrated Edge: Stacking bleed on the tank. Can be dodged, parried or blocked to avoid gaining stacks.
Queen Azshara
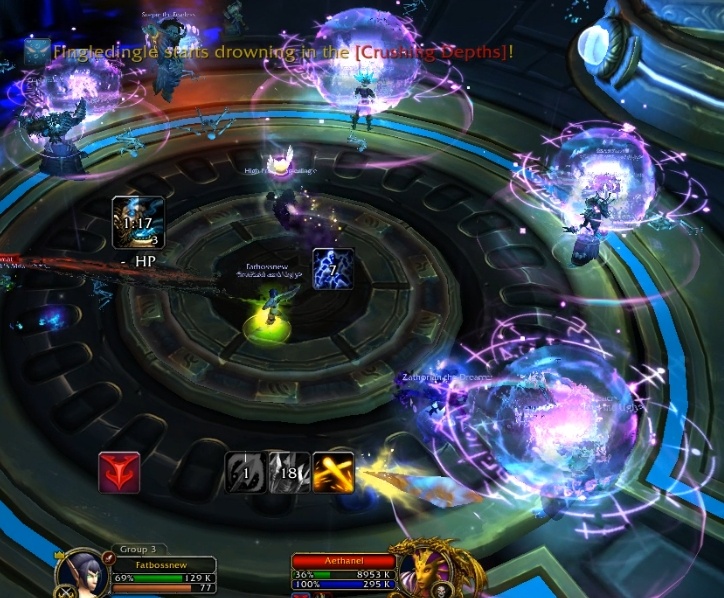
- Overzealous Hulk: Azshara will spawn this add in the middle of the room. The Hulk ignores all players and simply runs to a random Ancient Ward and begins Ground Pound once he is ontop of it. It is important to stun this add once as it becomes CC immune and burning it ASAP.
- Arcane Orbs: Purple orbs will spawn around the room. Stand in them to soak them or they will explode on the raid.
- Beckon: Random players will be drawn to an image of Azshara in the center of the room. Stand as far away as possible to avoid being drawn to it and stunned. If people are stunned, free them by killing the Crushing Depths.
FIRST INTERMISSION
Once the Lovers are dead, the 1st Intermission will begin. You must obey the Queen’s Decrees that are assigned to you.
- Arcane Orb: Azshara will spawn more of these in this phase.
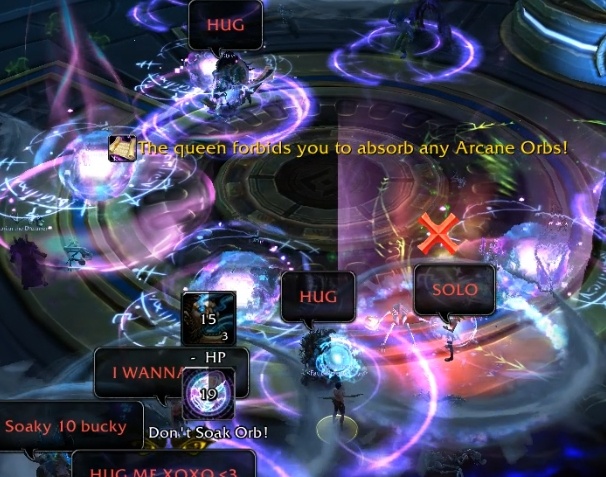
- Queen’s Decree: You will get 2 of these on Heroic and 3 on Mythic. Follow them or you will gain a stacking DOT the longer you don’t.
- Stay!: Stand completely still.
- March!: Keep moving.
- Stand Together!: Stack up with others who have the same Decree.
- Stand Alone!: Stay alone and isolate yourself from the raid.
- Obey!: Do NOT soak any Arcane Orbs.
- Suffer!: You MUST soak an Arcane Orb.
PHASE TWO
Azshara enters the fight and activates the center Ward. This Ward is different to the others – it is a Ward of Power. She will try to confuse the raid by swapping the location of her beneficial Ward with the Ancient Wards – be aware of its location.
- Ward of Power (BLUE): For the remainder of the fight, the Ward of Power will be active. Unlike the other Wards, the energy of this Ward grants Azshara and her adds increased damage. It is important to keep this Ward as low as possible.
- Reversal of Fortune: Azshara will cast this and swap the location of the Ward of Power with a random Ancient Ward.

Queen Azshara
- Beckon: Works the same as the P1 Beckon, but instead it will draw you to Azshara’s position at the time of the cast regardless if she moves afterwards. If you reach Azshara during Beckon, you will be Mind Controlled.
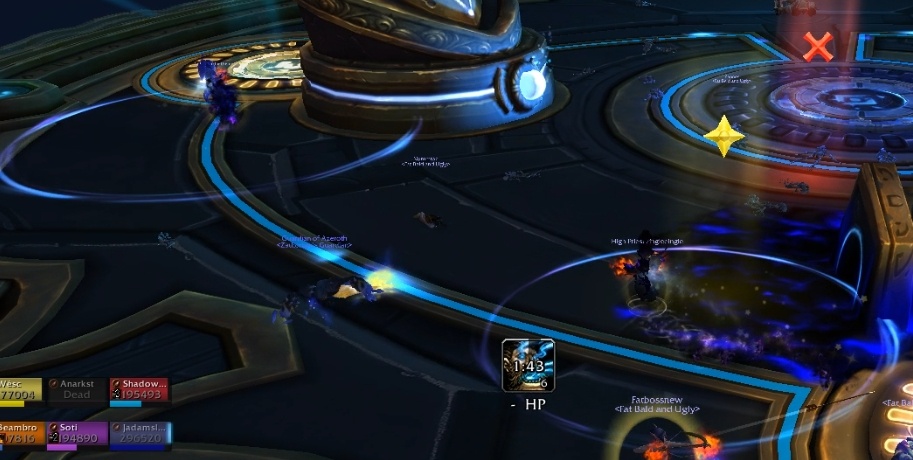
- Arcane Detonation: Channels a long-cast raid-wide explosion. Line of sight away from Azshara to avoid this LETHAL damage.
- Arcane Burst: Applies this debuff to random players. It has a long duration, but you must hide away from Azshara and the raid as when dispelled it’ll deal raid-wide damage. If you hit Azshara with hit, her next Arcane Bursts will target even more players and cause an additional explosion.
Adds
Azshara will spawn adds at the outer edges of the room to sacrifice themselves to her power.
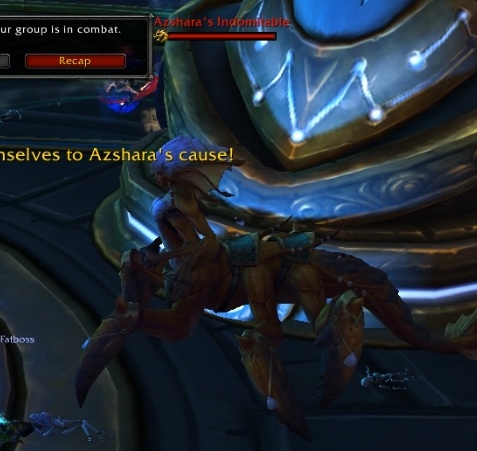
- Azshara’s Devoted:Large pack of low HP Naga mobs that can be CC’d in any way. Save massive AOE and CC to nuke these. If they reach the Ward of Power, they will Sacrifice themselves to give it power.
- Azshara’s Indomitable: Single add with massive HP and immunity to CC. Hard switch and nuke. If it reaches the Ward of Power, it will give it a massive amount of power.
SECOND INTERMISSION
Azshara remains active and fully damageable while enacting a new set of Decrees on the raid. During this time, Azshara will do nothing but take full damage.
You must do exactly as you did in the First Intermission, while also damaging Azshara as much as possible.
PHASE THREE
Azshara becomes active once again and casts the same abilities as Phase Two, with a few notable empowerments. In addition, she will spawn 2 new adds and no more sacrificial packs will spawn to energize the Ward of Power.
- Greater Reversal of Fortune: All Ancient Wards become Wards of Power. There will be only one Ancient Ward to maintain while this switch is happening.
Adds:
- Loyal Myrmidon: 1 of these adds will periodically spawn. It cannot be killed, as you will need his Charged Spear ability to deal with the Tidemistresses.
- Charged Spear: Targets a random player and throws a spear at them, hitting anything between the Myrmidon and his target – including the Tidemistress adds.
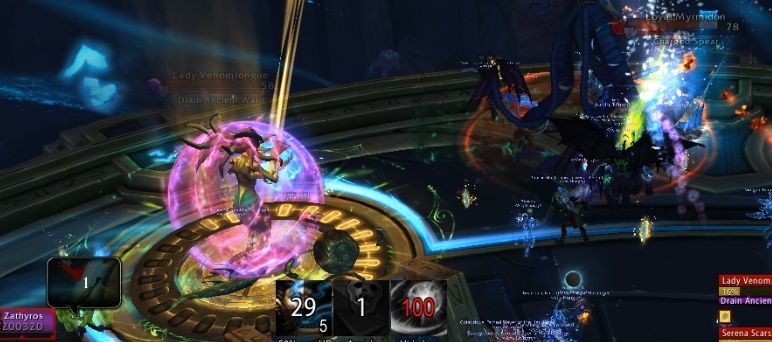
- Tidemistresses: 2 of these adds will spawn ontop of random Ancient Wards and begin casting spells to Drain the Ancient Ward or Energize the Ward of Power.
- Chain Lightning: Interruptible.
- Drain Ancient Ward: Interruptible
- Energize Ward of Power: Interruptible.
- Static Shock: Debuff on a random player that makes them start exploding in an 8yard radius. Move out if you have it.
- Crystalline Shield: Becomes immune to all damage and interrupts. This Shield can only be removed if the Tidemistress is hit by the Myrmidon’s Charged Spear ability.
PHASE FOUR
Once the Tidemistresses are dead, the final phase will begin regardless of Azshara’s HP. You must stack up behind Azshara and follow her during this phase while all Wards will begin reaching critical power levels and will immediate attention.
The Titan Console will also become interactable as Azshara overloads it with her power.
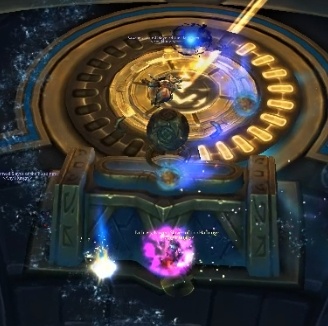
- Overload: Azshara overloads the console, and the energy within must be released or it will explode all at once and wipe the raid. 1 assigned player will press the button to slowly release the energy, which will explode and cause a random additional effect:
- Essence of Azeroth: Empowers a random player with a huge damage increase, but the player will die instantly after 40 seconds.
- System Shock: Applies a 1 min DOT on the entire raid.
- Short Circuit: Causes a random Ancient Ward to lose all of its power.
N’Zoth begins to make his presence known during this fight, granting Azshara new Void abilities in addition to her usual abilities from previous phases.
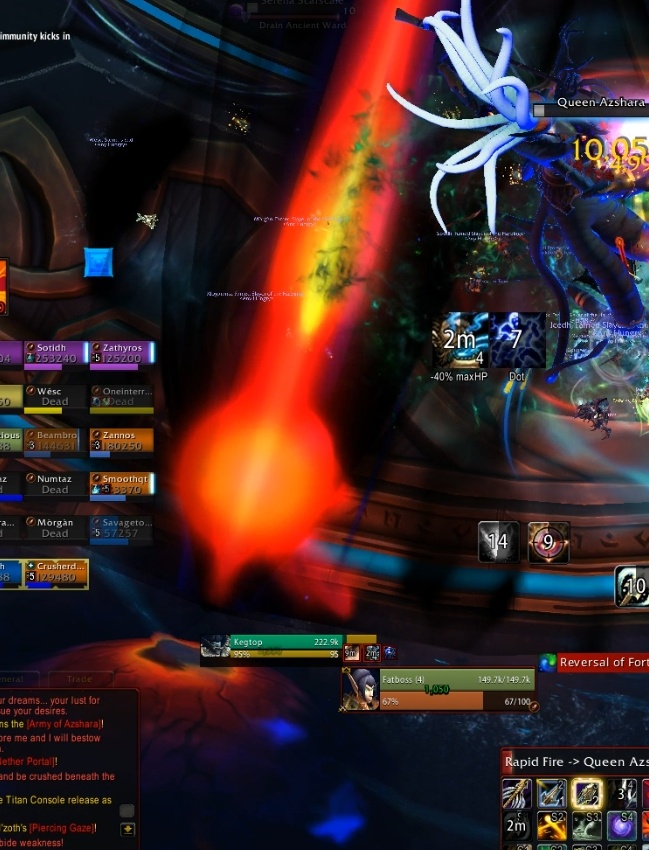
- Nether Portal: Spawns a large void zone on a random player that lasts for 10mins. You will need to stack up behind Azshara and move slowly along the edges to bait these.
- Piercing Gaze: N’Zoth’s red eye will appear outside the barrier, and flash a massive beam in its direction across the room. Stay away or be knocked back and hit for loads of damage.
Keep the Wards healthy throughout the entire fight during each phase while executing Azshara’s Decrees and dispatching her underlings and you will be sure that the Light Beneath the Tides will be snuffed out for good.
We hope.
You must be logged in to reply to this topic.


