- This topic has 2 replies, 1 voice, and was last updated 5 years, 10 months ago by
 Ragùneraxe.
-
RagùneraxeWarlord@necroaxeMember since: 25/11/2017


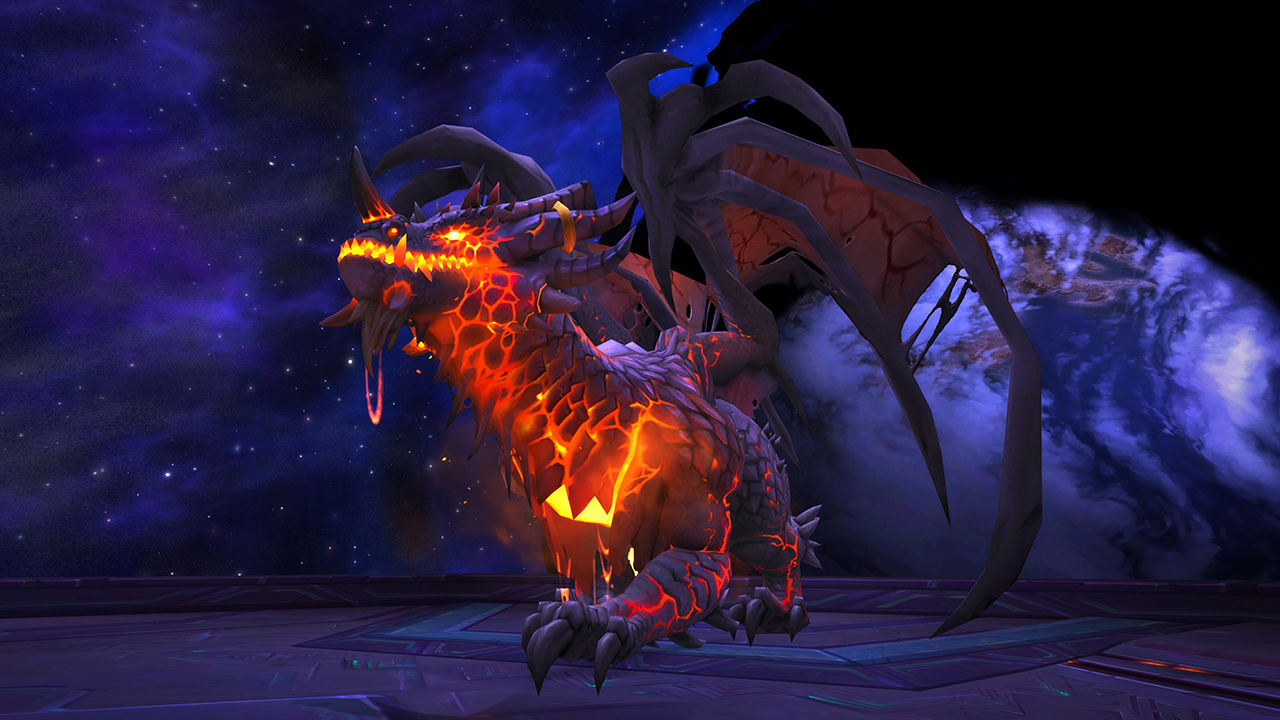
WRATHION, THE BLACK EMPEROR
Two phases encounter with a very restrictive movement. Almost entirely single-target, with a short burst of strong AoE damage required in the second phase.
Phase 1
Creeping Madness: Debuff applied to the entire raid on pull. Any movement gains a stacking slow debuff. At 50 stacks of this slow, you will die instantly. Lasts 2.3mins.
The boss will be pulled and tanked at his starting position. You cannot ever be behind or infront of him, due to his frontal breath and tail swipe abilities.
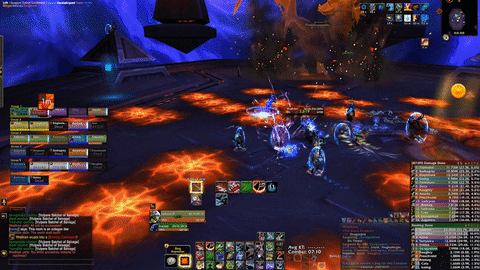
Skull is the starting boss position. The Shield is the active tank. The Sword is Melee DPS+Holy Palas. The Bow is Ranged+Healers. The Warlock icons are entry and exit points for gateways. This positioning will only be in effect for the pull before the 1st Burning Cataclysm.

Burning Cataclysm: Directly after finishing his Gale Blast AoE ability, Wrathion will face an edge of the room, despawn and fly to the smoke he was facing and respawn there. Run to the opposite side of the room from him, find the safe spot from the fire and DO NOT MOVE once in position.
After the fire has despawned, DO NOT CHASE WRATHION. Wait for him to come to the raid, the tank will intercept him at a distance from the stack, and melee will move forward and assume the same 2 group stack from earlier.
This is an example of positioning if Wrathion spawns on the west side with his Cataclysm.
Wrathion spawns fire standing on Skull at the west end and the entire raid stacks on Blue. He runs to the raid following the arrow. The Tank stops him at the Skull at the end of the arrow, turns him and the melee move in to stack on his belly at the Sword. All Ranged stay on blue where they were originally.

Phase 2
After 2 Burning Cataclysms have been cast, the Creeping Madness slow debuff will expire and you can move freely to deal with his Smoke and Mirrors phase.
In this phase, Wrathion is untargetable and immune. He spawns Crackling Shards out of the craters across the room, which are immune to all damage until their shield is broken by the Burning Madness players.
Scale of Wrathion: At the start of the 2nd Phase, 3 red zones will spawn beside Wrathion. Standing in these zones is vital, as any missed will cause a wipe. Once the zones expire, the players within will gain the buff Burning Madness, which allows them run over and remove the immunity from 10 Crackling Shards each.
Players with immunities and high mobility will take these scales and remove the shields ASAP. Demon Hunters, Rogues, Hunters are recommended to do this job to free the Shards immediately to start killing them. Any Shard left alive will explode and leave a permanent DOT on the raid for each one left standing.
Assassins that spawn in this phase need to be intercepted and tanked ontop of Shards – they are bottom priority targets but need to be revealed to stop stuns.
Once this phase ends, Wrathion will explode any remaining Shards and restart Phase 1, re-applying the Creeping Madness debuff on the raid again.
-
RagùneraxeWarlord@necroaxeMember since: 25/11/2017
MYTHIC GUIDE
IN-DEPTH GUIDE
-
RagùneraxeWarlord@necroaxeMember since: 25/11/2017
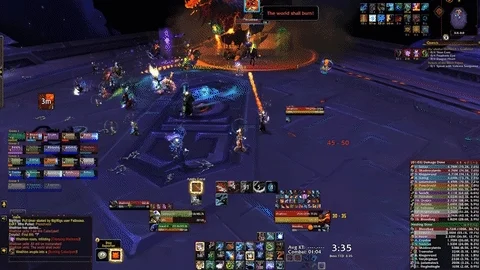
GUILD KILL VIDEO
You must be logged in to reply to this topic.