- This topic has 3 replies, 2 voices, and was last updated 4 years, 11 months ago by
 Ragùneraxe.
-
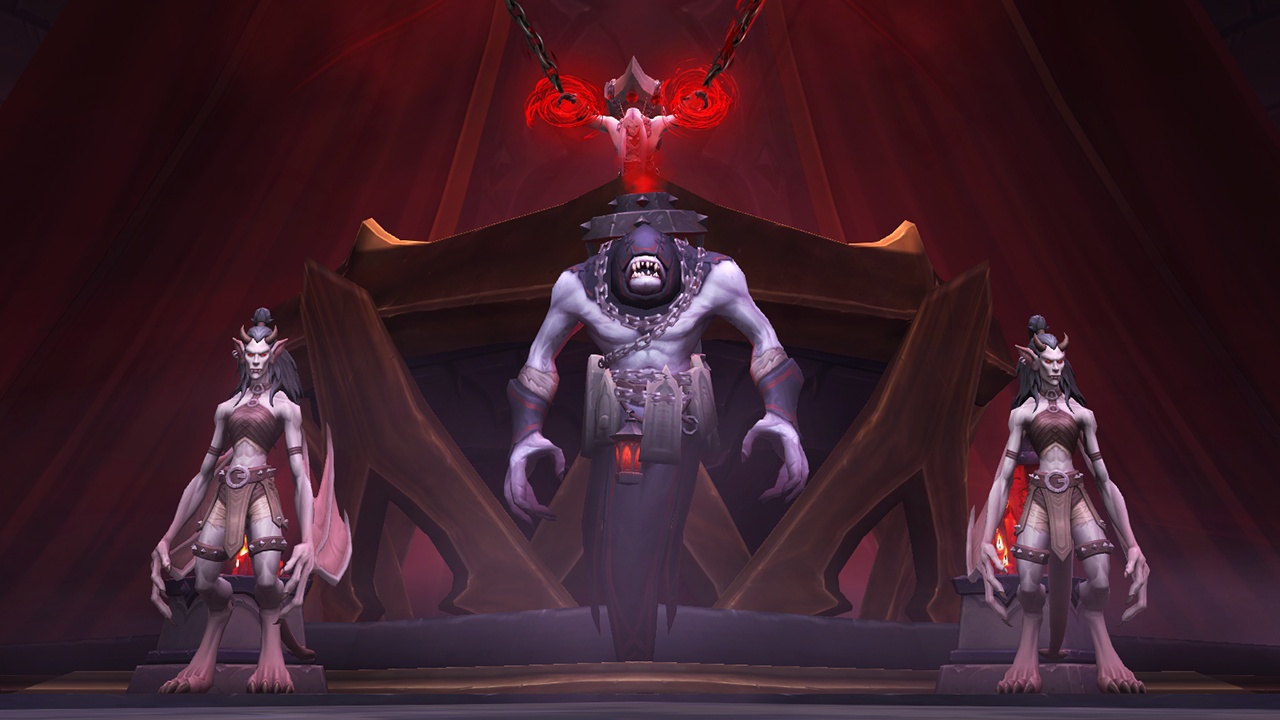
THE SUN KING’S SALVATION
This boss is a healer centric fight, with multiple different type of adds to kill in the process. The encounter has two phases, each starting at specific health thresholds: 45% and 90%. We must work together to save Kael’thas, the Sun King, from being further drained of Anima by Denathrius’ pawns. Whilst the healers can directly heal Kael’thas to get him to 45% and later 90%, there are also other ways to bolster his health.
Phase 1
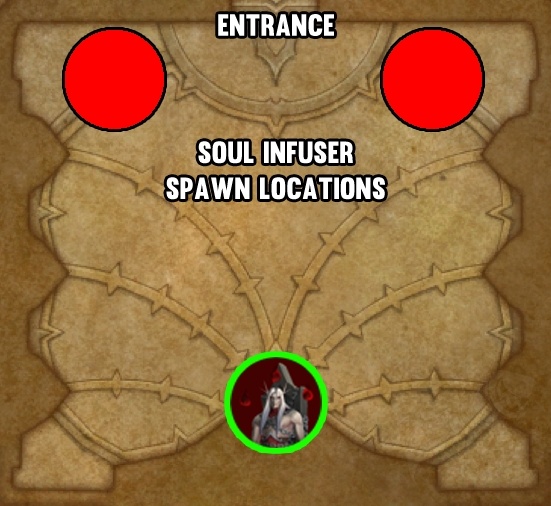
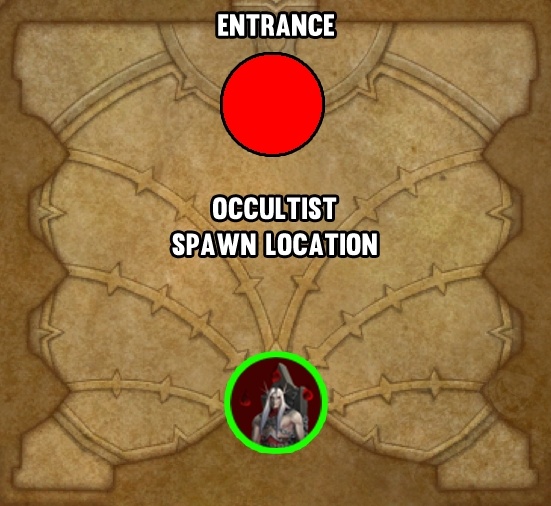
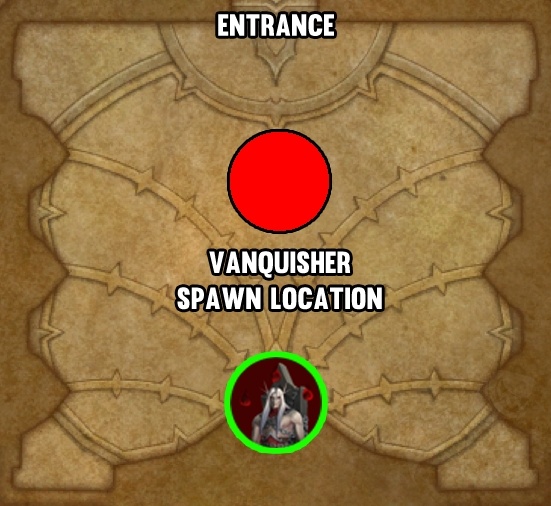
Over the course of this phase we will have five different type of adds to deal with. Each add has a different role in the fight, and killing the most dangerous ones first is vital to success. Each add has its own, set spawn location which repeats across the fight. During this phase, Healers must tunnel and focus all their healing into Kael’thas himself.
It is important to phase to 45% and 90% only when there are no adds alive to make the transition as smooth as possible.
Add Kill Priority: Soul Infuser > Vile Occultist > Rockbound Vanquisher > Bleakwing Assassin > Pestering Fiend > High Torturer Darithos
High Torturer Darithos is the miniboss at the start of the encounter. Once he’s dead, he’s gone. We take him out along with the first pack of adds. He will occasionally mark players with Greater Castigation. These players need to move away from others so the damage pulses do not cleave on to others.
Soul Infusers need to be slowed/rooted/stunned and burned down as fast as possible. If they reach Kael’thas they drain 1% HP off from him every 2 seconds. These adds will heal the Shade of Kael’thas boss instead if they are still alive during the Shade phase. Upon death, they leave an Infuser’s Orb on the ground which when picked up increases healing done by 50% for 14 seconds. These orbs must go to healers only.
Vile Occultists will be occasionally casting Vulgar Brand, an ability that needs to be interrupted to avoid the entire raid getting a 35% damage taken increase debuff. Upon death these adds drop an Essence Font. Each occultist drops its own Font, which needs to be healed to full so it can transfer Anima back to Kael’thas, healing him for 1% of his max hp. Prioritize healing fonts over healing Kael.
Rockbound Vanquishers need to be picked up by the tank. These need to be focused down due to their Concussive Smash, which causes raidwide damage, and every consecutive cast does 25% more than the previous one. You cannot channel the pedestals while a Vanquisher is up as the Concussive Smash will interrupt your channel.
Bleakwing Assassins will occasionally teleport on top of players with Crimson Flurry, leaving a bleed on them and anyone within 8 yards. At 30% hp, the assassins will turn into stone and begin an 8 second channel which heals them back to full if not killed before it ends.
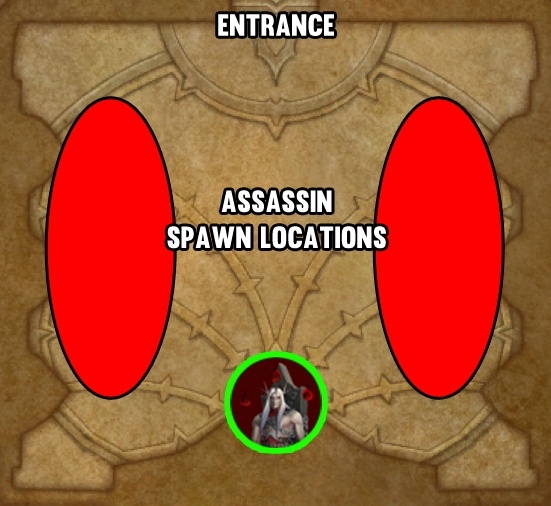
Pestering Fiends will spawn throughout the phase and swarm the center of the room, constantly casting Shattering Ruby at random players. You need to stay spread out atleast 3 yards in order not to cleave others with this.
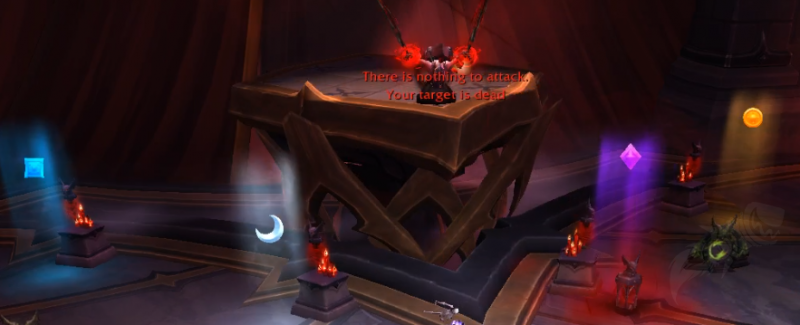
Throughout the encounter, players can also use the four Soul Pedestals underneath Kael’thas platform, which when used will channel to sacrifice your HP to heal Kael’thas. Each second channeled stacks a two minute debuff that makes you take more damage from the channel itself, so be mindful of how long you want to channel into Kael’thas.
Phase 2: Shade of Kael’thas (45% & 90%)
Upon hitting these health percentages, the Venthyr split a Shade from Kael’thas, spawning a version of him we need to kill. Adds will not spawn while the Shade is active, so all efforts must be focused into killing the Shade as quickly as possible – keeping in mind that you must clear any adds left alive first. Once you kill the Shade a 2nd time from 10% to 0, the fight ends.
During this phase, Kael’thas is afflicted by Reflection of Guilt, nullifying any healing done to him while the Shade is alive. Tanks have to make sure to keep the Shade turned away from the raid, due to the tank mechanic Fiery Strike hitting everyone in a cone, as well as Blazing Surge hitting in a cone in front of him when he reaches 100 energy. Blazing Surge leaves Smoldering Remnants fire patches in a cone infront of the Shade when cast – face it into a wall to maximize space. These fire patches last roughly 45 seconds.
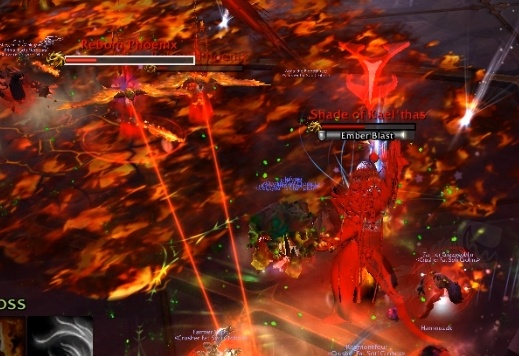
Ember Blast will target a player with a circle – stand in the raid and soak this all together as a group.
Reborn Phoenix will spawn in this phase. Their Smoldering Plumage ability also leaves behind Smoldering Remnants on the floor. Bringing the Phoenix to 0 HP makes it turn into a pile of ash and despawn it, where it will regenerate and re-emerge from the ashes like well, a phoenix. It is important to not allow the Phoenix to reach you, and to kite into areas of existing flame patches.
-
NORMAL / HEROIC GUIDE
MYTHIC GUIDE
-
Heroic Difficulty
Pestering Fiends will explode upon death, doing damage to anyone around 7 yards to them. Melee and tanks will have to be careful to not stay near the Fiend when its health is low.
Shade of Kael’thas’ Blazing Surge frontal cone ability will target random players in the raid rather than the active tank.
The Smoldering Remnants fire patches are permanent on Heroic.
Mythic Difficulty
The Cloak of Flames ability is in play on Mythic. This ability affects either Kael’thas Sunstrider himself, or the Shade of Kael’thas.
If there is no Shade of Kael’thas active, Kael’thas will gain Cloak of Flames. This is an absorption shield that needs to be healed through ASAP to interrupt his Unleashed Pyroclasm ability. If the shield is not removed in time, the raid will be wiped out.
If Shade of Kael’thas is active, the Shade gains the Cloak of Flames which in this case will need to be damaged to be broken off the Shade or it will cast Unleashed Pyroclasm and wipe the raid.
The Phoenix adds from the 1st Shade Phase will persist for the rest of the fight, dying and reviving on a loop until the fight is over. Control them by keeping them slowed, stunned and rooted and control their movement into existing fire.
You must be logged in to reply to this topic.
