
- This topic has 5 replies, 3 voices, and was last updated 7 years ago by
 Zumblez.
-
 RagùneraxeWarlord@necroaxeMember since: 25/11/2017


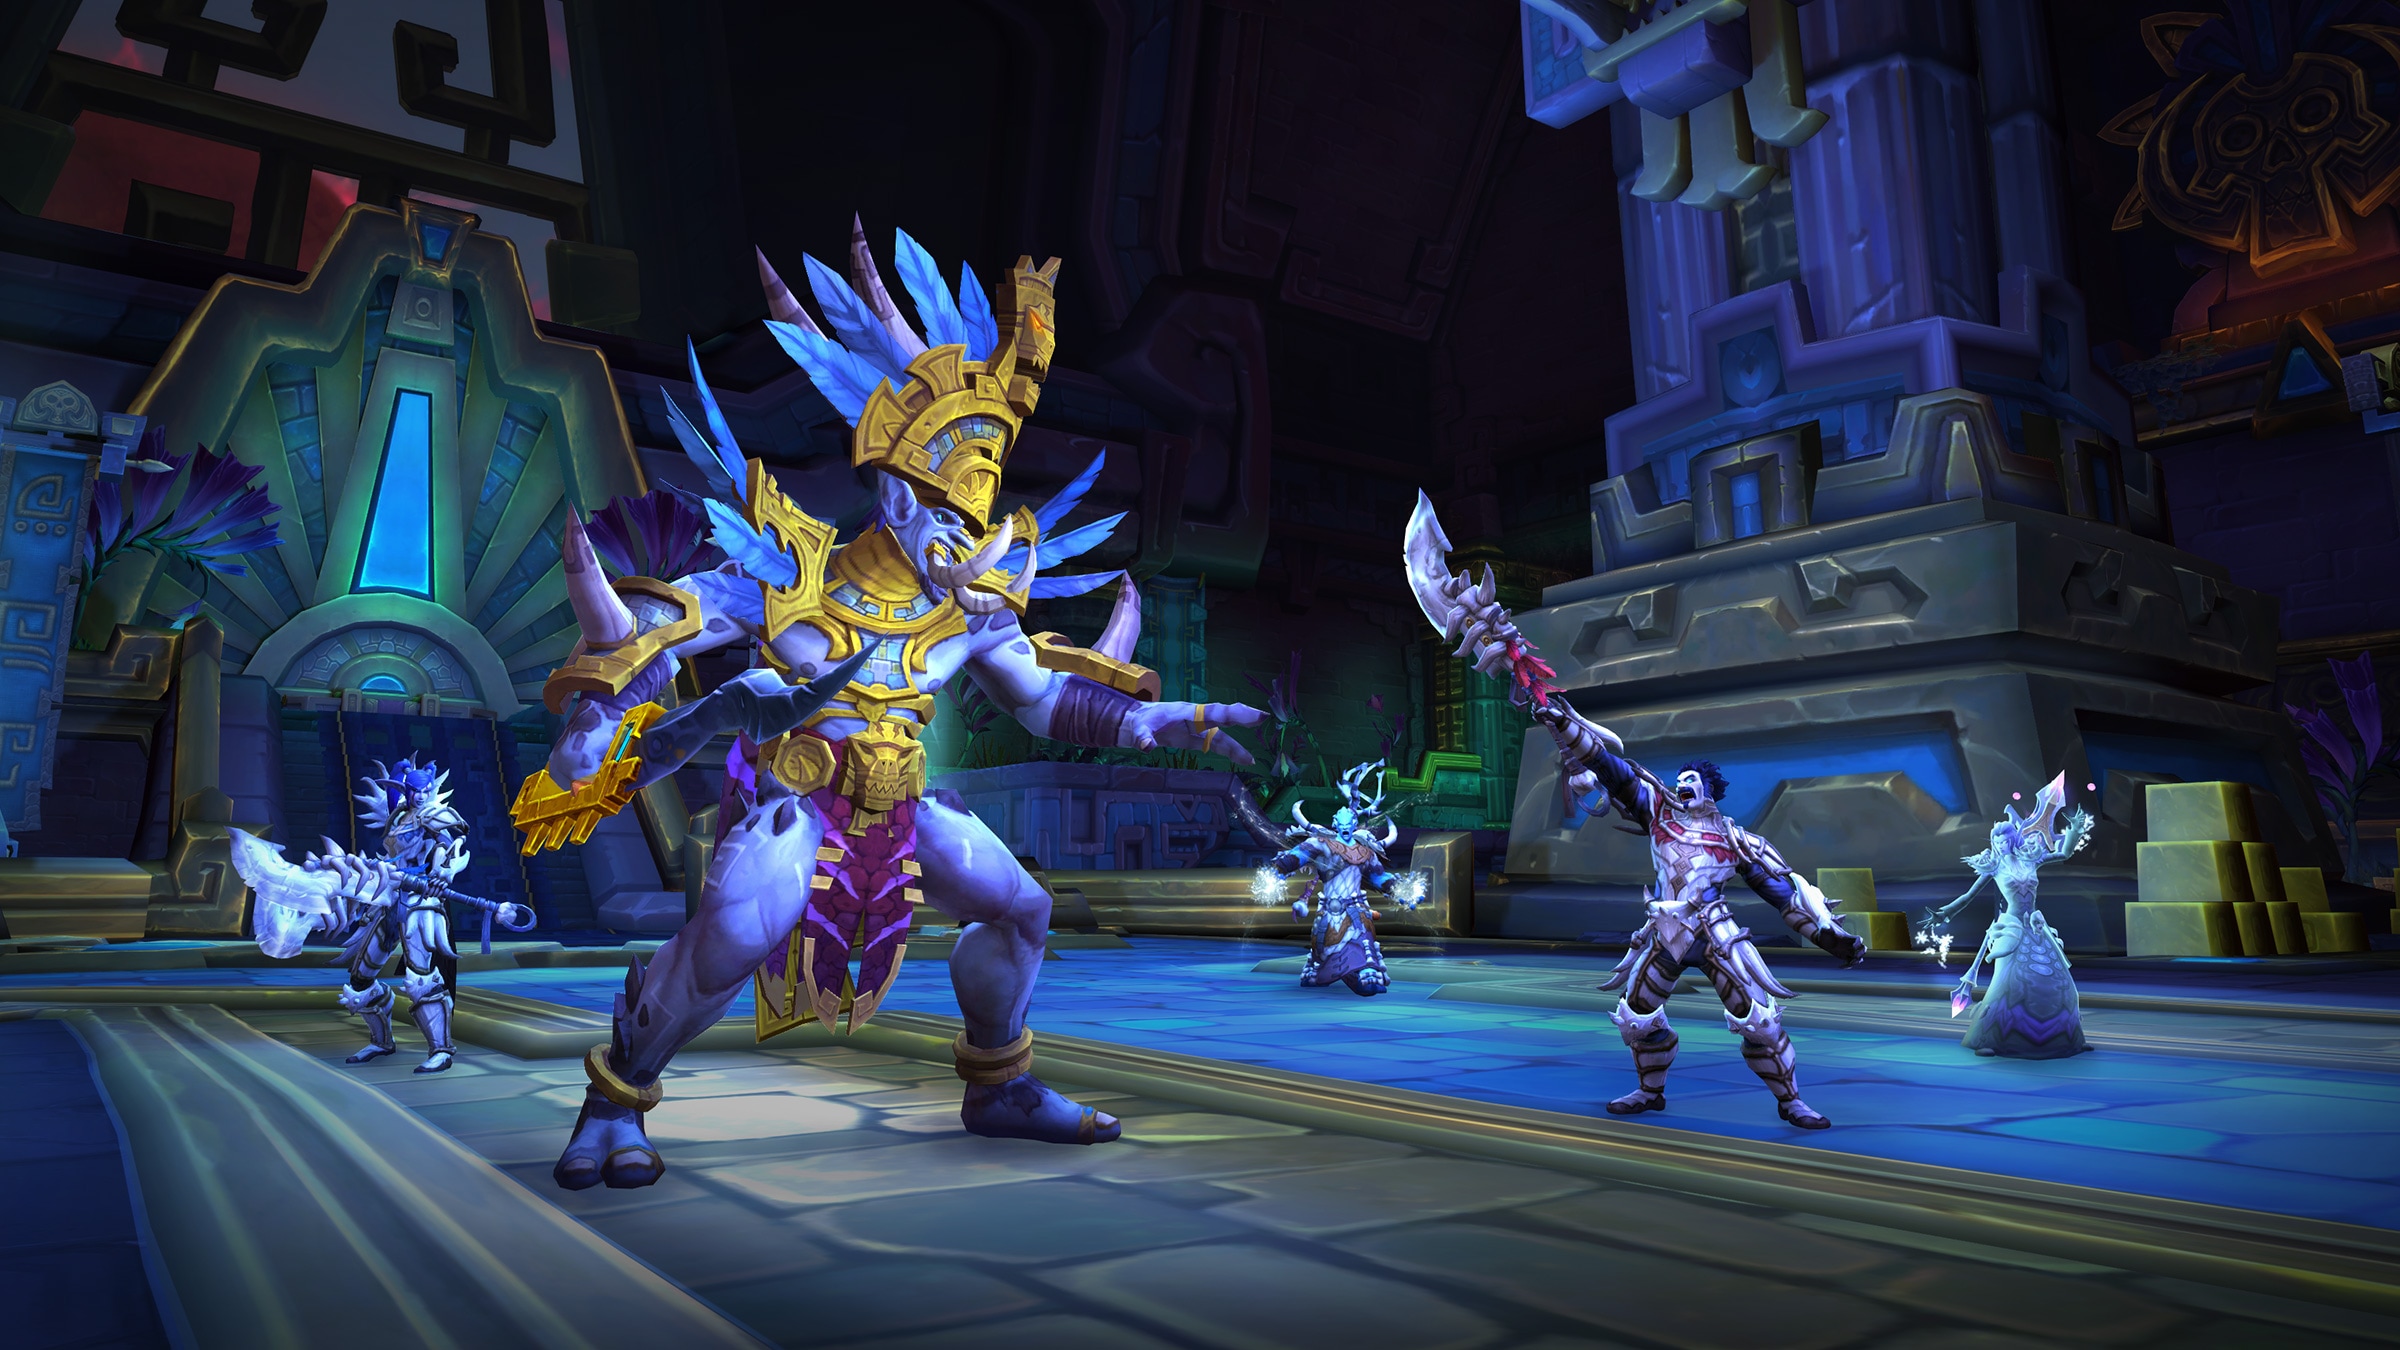
KING RASTAKHAN
Multiple phase encounter with a mix of burst cleave/AoE parts and high single-target focus. High awareness and decent mobility needed to properly execute the fast-paced nature of Rastakhan’s mechanics.
- Targets: King Rastakhan, Siegebreaker Roka, Prelate Za’lan, Bwonsamdi, Phantom of Rage, Phantom of Retribution and Zombie Dust Totem.
- Played Faction: Alliance.
The fight is divided into 4 Phases which are triggered upon reaching certain health thresholds on killing the bodyguard adds and Rastakhan or Bwonsamdi’s HP percentages.
Phase 1
When the fight begins, Rastakhan applies Bind Soul to himself and delays entering the fray by about 5-6 seconds. He cannot be moved until he has gotten down from his throne, but his bodyguards can be tanked and moved freely.
This phase ends once all of Rastakhan’s bodyguards have been slain.
In this phase, you have 3 targets to choose from: King Rastakhan, Siegebreaker Roka or Prelate Za’lan
King Rastakhan
- Bind Soul: Renders himself immune to all damage, absorbing any damage done to him and reflecting it onto his bodyguards. Rastakhan will take no damage until his bodyguards are slain, but any damage done to him will instead be done to his guards.
- Scorching Detonation: Channeled cast applied on the active tank. The tank will explode for raid-wide once the cast is completed, reduced by distance. Taunt switch on this ability and the targeted tank must run away as far as possible.
 Plague of Toads: Spawns 3 Toads that will hop outwards from his current location in a cone. If a Toad hits any player, they will gain a ticking poison DoT. Avoid the toads completely, or you can soak them with a magic immunity.
Siegebreaker Roka
Aim to focus down and kill Roka first as he is the most threatening of the bodyguards.
- Meteor Leap: Targets a random player (excluding tanks) and begins focusing a cast on them. Once the cast is complete, Roka will leap onto his target and deal massive amounts of Physical damage, split evenly among any players hit in the circle. ALL must stack and soak this ability.
- Crushing Leap: Triggered instantly and automatically after each Meteor Leap onto Roka’s active tank. Deals high amount of Physical damage onto the tank and applies a 500% damage increase of subsequent Crushing Leaps.
Prelate Za’lan
 Seal of Purification: Focuses a cutter beam from the ceiling onto a random target, chasing them and
dealing Fire damage to anyone in its path. Kite away from others and avoid.
Phase 2
Phase 2 begins once all of Rastakhan’s bodyguards have been killed. Bwonsamdi will appear and unavoidably stun the entire raid for 12 seconds while he joins the fight, and Rastakhan will lose his Bind Soul ability.
In this phase, Rastakhan becomes the main and only target. Similarly to Phase 1, however, Bwonsamdi will be immune to all damage but cast abilities onto the raid while you are dealing with Rastakhan.
This phase ends when Rastakhan hits 60% health.
King Rastakhan
- Scorching Detonation: Retained same ability and effects as Phase 1.
- Plague of Toads: Retained same ability and effects as Phase 1.
- Zombie Dust Totem: Rastakhan will spawn an attackable totem beside him, mind controlling a random raid member. Shamans can break the mind control with Tremor Totem, but the totem must be killed and nuked ASAP.
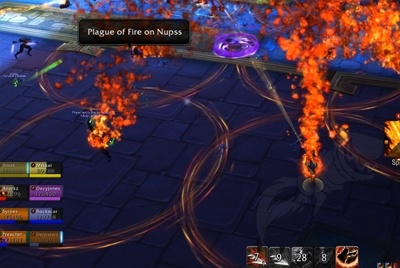
- Plague of Fire: Applies a 1.5sec fire DoT on random raid members. Once the debuff expires, it spreads the DoT to any player within 7 yards. Spread out BEFORE the ability comes in and avoid targets of the debuff to stop spreading it.
Bwonsamdi
- Unliving: Absorbs all forms of damage.
- Caress of Death: Applies a debuff onto the active tank, making them immune to all healing for 5 seconds. Be at full hp before this and use defensives and kite Bwonsamdi if necessary.
- Death’s Door: Applies an 8sec Shadow damage DoT onto a single random player at a time. Once the debuff expires, the player will spawn a Death Rift at their location.
- Death Rift: Important to place these Rifts at the walls of the room as they will become relevant in Phases 3 and 4. In Phase 2, these Rifts do nothing.
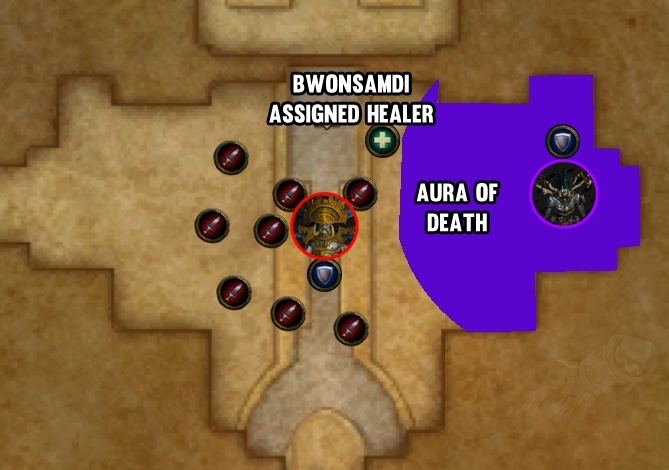
- Aura of Death: Large 30yard aura around Bwonsamdi that applies Deadly Withering to anyone standing within the aura every 3 seconds. Bwonsamdi is isolated far away from the rest of the raid and Rastakhan by the off-tank.
- Deadly Withering: Low Shadow Damage DoT. Stacks infinitely within Aura of Death. Bwonsamdi’s tank will need to drop these stacks when swapping onto Rastakhan for Scorching Detonation.
Phase 3
Triggered once Rastakhan hits 60% hp. Bwonsamdi will empower the King, drag the half of the raid closest to his location on the phase transition into the Death Realm and revive Rastakhan’s fallen bodyguards as ghosts with different abilities.
This phase splits the raid between the Living Realm and the Death Realm. Each realm has its own boss and abilities to handle during this phase.
Death Realm
Bwonsamdi will drag you into this realm if you are one of the targets closer to him when Rastakhan hits 60%. He will stand in the middle of the room and free-cast, and he cannot be moved but is now attackable.
Within this Realm, the Death Rifts you spawned in Phase 2 come into play. To rejoin your raid in the Living Realm and trigger Phase 4, you must lower Bwonsamdi’s health to 50%.
- Aura of Death: Now affects all players in the Death Realm regardless of distance and applies Deadly Withering as in Phase 2 to anyone within the Death Realm.
- You can only clear your stacks by walking into a Death Rift, which will trigger a raid-wide explosion in the Living Realm. Stagger clearing your stacks at around 15-20 to avoid killing those in the Living Realm with excessive damage – you can use magic immunities to remove the stacks or stop them from applying.
- Death Rift: Spawned from the Death’s Door ability during Phase 2, these gateways now radiate orbs of Dread Reaping throughout the entire room, in both realms.
- Dread Reaping: Orbs spawn from the Death Rifts in the Death Realm in an asterisk pattern. If they come into contact with other Rifts, they will spawn in the Living Realm aswell. Avoid these.
- Caress of Death: As in Phase 2, Bwonsamdi applies a healing immunity to a random player in the Death Realm, but the duration is reduced in this phase. If you are targeted by this, use a defensive and avoid any and all damage you can.
- Inevitable End: Begins channeling a black hole around himself, drawing in anyone within the Death Realm into him. If you come into contact with Bwonsamdi during this channel, you are instantly killed. Run away before this is cast if you are melee or you will die as soon as he begins his cast, avoid it until the channel ends.
Living Realm
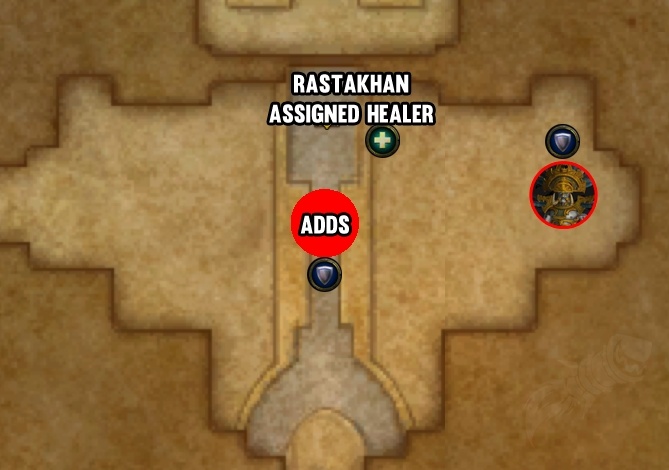
While one half battles Bwonsamdi in the Death Realm, another half remains behind to deal with the now-empowered Rastakhan and his resurrected adds, the Phantom of Rage and the Phantom of Retribution.
You must kill the adds and do as much damage to Rastakhan as possible before the Death Realm damage Bwonsamdi to 50%.
King Rastakhan
- Plague of Fire and Plague of Toads are no longer casted for the rest of the encounter starting from Phase 3.
- Bwonsamdi’s Boon: Rastakhan gains a stacking 2% damage increase every 15 seconds. Soft enrage.
Phantom of Rage
- Necrotic Smash: Pounds the ground towards the active tank, dealing Shadow damage and applying a 50% healing reduction. Avoid this if you are tanking this add.
- Undying Relentlessness: After 60 seconds, will become immune to any forms of CC.
Phantom of Retribution
- Grave Bolt: Moderate shadow damage casted on the active tank constantly. Interrupt to help reposition so the add will move.
- Seal of Bwonsamdi: Spawns several 4yard void zones across the encounter floor. If these zones are not soaked, they will explode for raid-wide damage. Ranged must actively spread and soak these ASAP.
- Undying Relentlessness: After 60 seconds, will become immune to any forms of CC.
Phase 4
Bwonsamdi leaves the encounter permanently, imbuing the rest of his power into Rastakhan who is left to fight you alone with his new abilities.
This phase is a soft-enrage and race against time. You must kill Rastakhan as quickly as possible as the longer he remains alive, the more damage he deals overall and the more the room becomes filled with Death Rifts and Dread Reaping orbs.
- Plague of Fire and Plague Toads are casted by Rastakhan once again, with the same effects as Phases 1 and 2.
- All-Encompassing Death: Rastakhan passively starts spawning Death Rifts all around him.
- Death’s Door: Same spell as Bwonsamdi’s in Phase 2, but is now casted by Rastakhan instead.
- Inevitable End: Same spell as Bwonsamdi’s in the Death Realm during Phase 3, but is now casted by Rastakhan instead.
-
RagùneraxeWarlord@necroaxeMember since: 25/11/2017
HEROIC DIFFICULTY
One of the few fights that drastically changes approach and strategy compared to Normal difficulty. There are few extra abilities and mechanics to watch out for that make the leap in difficulty very noticeable.
Headhunter Gal’wana
A new bodyguard mob is added to the original 2 from the very start of the fight. This add has his own ability, and will have his own Phantom counterpart later on in the fight – the Phantom of Slaughter. The priority kill order does not change and Siegebreaker Roka is still the main target.
- Grievous Axe: Throws an axe at a random player, applying a bleed onto the target for moderate damage. The bleed is removed once the player is above 90% health. Healers must spot heal and focus those with this debuff to remove it quickly.
Phase 1
The phase that will change the most in positioning and approach than the rest compared to Normal. Rastakhan gains a new ability and different effects to his existing ones. His bodyguards retain the same abilities as Normal.
King Rastakhan
On Heroic, we will be tanking Rastakhan away from his bodyguards as he takes no damage during Phase 1. This is done to avoid having to handle his new Greater Serpent Totem ability and the new slime effect added to the Plague of Toads.
- Greater Serpent Totem: Spawns a fire totem onto the active tank that slowly deteriorates its own health as time passes. The totem will cast Serpent’s Breath at a random nearby player.
- Serpent’s Breath: Large amount of Fire damage in a frontal cone breath from the totem. Solo tank sidesteps and avoids where it’s facing.
- Plague of Fire now spreads after 1.5 seconds, down from 2 seconds on Normal. React even faster.
- Plague of Toads: The Toads with each hop will now leave a patch of Poison Slime to avoid. Solo soaking the toads becomes much more beneficial to conserve space.
Phase 3
Each phase other than Phase 1 is handled the same as Normal, though burning the adds becomes more important as there is an extra bodyguard to deal with when Bwonsamdi revives them.
Phantom of Slaughter
- Focused Demise: Channels a ticking DoT onto a random player. Can be interrupted, but only by the target focused by the channel. Save your interrupts for this if you are targeted – no one else can help you here.
- Grave Bolt: Moderate shadow damage casted on the active tank constantly. Interrupt to help reposition so the add will move.
-
RagùneraxeWarlord@necroaxeMember since: 25/11/2017
MYTHIC DIFFICULTY
The changes between Heroic and Mythic are minor. Some abilities are buffed and become harder to handle, but the strategy and approach remains largely the same.
Prelate Za’lan
- Seal of Purification now leaves fire patches in its wake as it chases its target.
Headhunter Gal’wana
- Grievous Axe now targets 3 people at once, up from 1 on Heroic.
King Rastakhan
- Plague of Fire now spreads to any nearby targets after 1.3 seconds, down from 1.5 on Heroic.
Bwonsamdi
- Aura of Death’s radius is now 45 yards, up from 35yards on Normal and Heroic.
Phantom Adds
- Empowered Spirit: This passive affects all the Phantom adds in Phase 3. This effect causes the Phantom to spawn in the Death Realm upon being killed in the Living Realm, and leaving a Death Rift where they died. Simply make sure not to kill the adds before the Death Realm has gotten Bwonsamdi to 50% and make sure they die far from the group to avoid spawning a Rift in a bad location.
-
RagùneraxeWarlord@necroaxeMember since: 25/11/2017
NORMAL / HEROIC GUIDES
MYTHIC GUIDE
-
 ChimeriesFormer Member@chimeriesMember since: 03/05/2018

For the mythic tactic where the ranged and healers go into the shadow realm/Brosamdi’s realm.
We looked at a tactic last week to drop the portals so the ranged could stack behind it.
The idea is sound but i believe the location was not.The idea is to drop portals near the door where we enter the encounter and the ranged and healers stand behind the portal with their backs to the door. It’s a much better location as it requires almost no movement which for ranged means maximum uptime on Brosamdi.
Khermi and I spent some time and made 2 weakauras for this boss.
First is a spread WA much like the Mythrax one for when the fire comes out.
Second is a very non intrusive one for when we have to drop the door.We will share those during HC tomorrow.
-
ZumblezGuild Member@zumblesMember since: 22/03/2018


Yeah you can see that in the Stankie video and in other kill vids as well.


You must be logged in to reply to this topic.